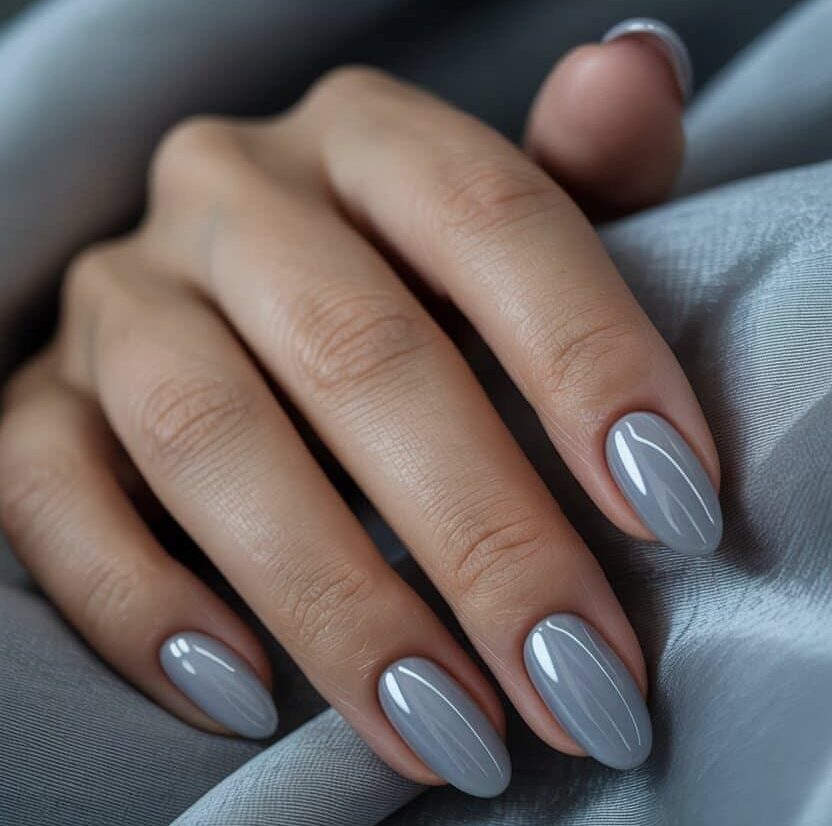
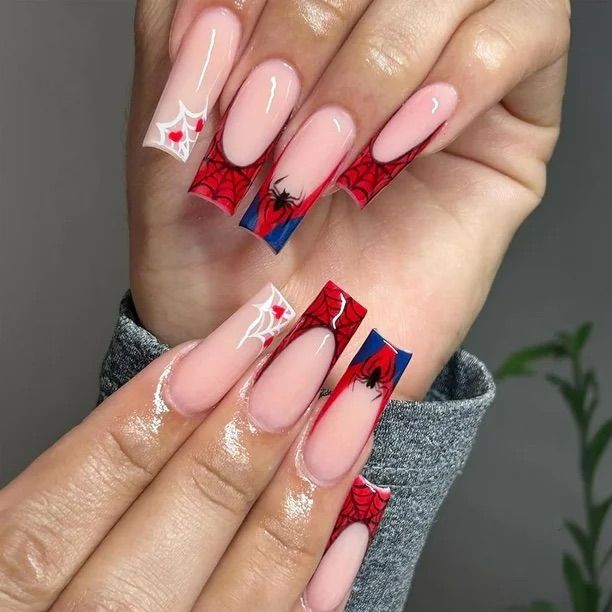
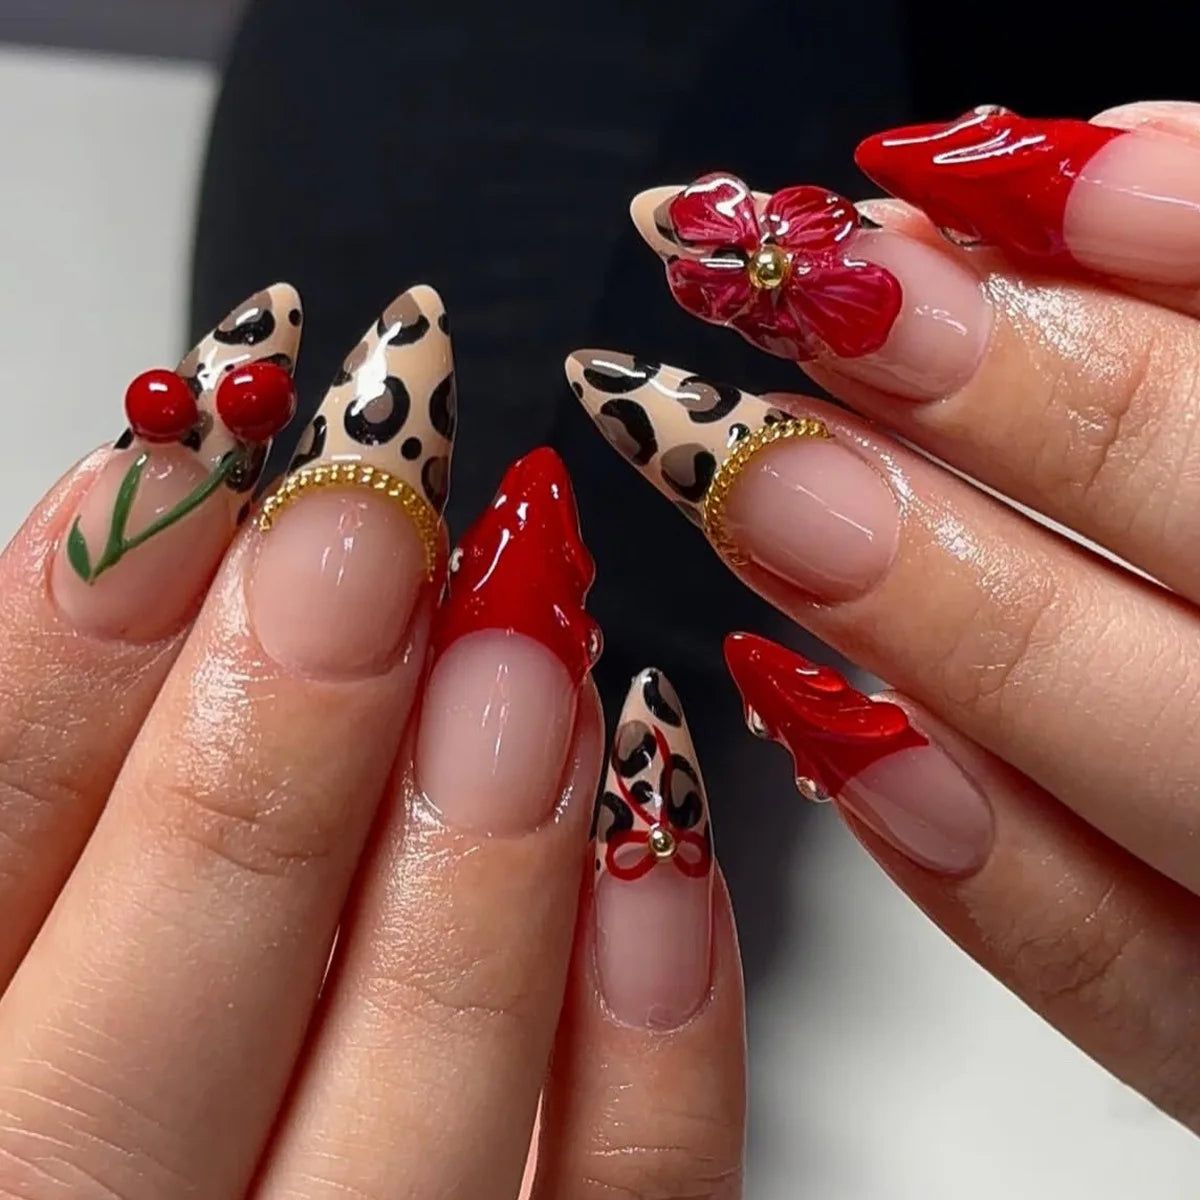
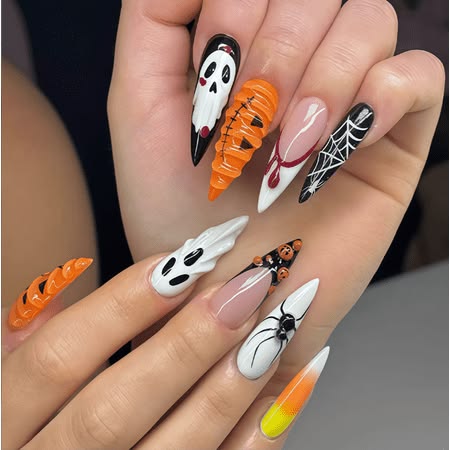
French tip nails have outlasted almost every trend of the last forty years for one reason: the design draws your eye to the edge of the nail rather than the middle, and that makes the whole hand look longer and tidier. What has changed is everything around it. The tip is no longer always white, no longer always a soft curve, and no longer only for long nails.
The part that decides whether a french looks salon-made or homemade is the smile line — the curve where the tip meets the base. Three things control it: how thick the tip is, how curved the line is, and how cleanly it meets the side walls. Get those right and almost any colour works.
On tip thickness, the modern proportion is much thinner than the 1990s version. Aim for roughly 2–3 mm on a short nail and no more than about a fifth of the total nail length on a longer one. Too thick and the nail reads stubby, which is the single most common mistake in home french manicures.
Below are 15 designs, each with the exact colour combination, who it suits, and the steps to get it. They run from the plainest classic white through to metallic and pearl finishes, so you can start wherever your confidence sits.
- Keep the tip to about 2–3 mm on short nails — thickness is what dates a french manicure
- Draw the smile line as two short curves meeting in the middle, never one nervous stroke
- A sheer base does the heavy lifting: milky pink and nude flatter almost every skin tone
- French tips grow out better than any other design because the colour stays at the free edge
- Classic White Tips on Short Square Nails
- White Tips with Painted Burgundy Flowers
- Marbled Pink Tips with a Starburst Accent
- Pink and White Double French with Gold Rhinestones
- Peach Tips with a Single White Daisy
- Cherry Red Micro-French
- Burgundy Tips Outlined in Gold Glitter
- Black Tips with Polka Dots and a 3D Bow
- Black Tips Outlined in Gold
- Gold Metallic Tips with Pearl Accents
- Pearl Tips with 3D Beads and Bow Line Art
- Soft White Ombre Tips with Scattered Daisies
- Cherry Tips on White French
- Burgundy Glitter Tips on an Angle
- Black Tips with Painted Daisies
1. Classic White Tips on Short Square Nails

This is the version everything else is built on: a milky pink base, a crisp white tip, and a soft curved smile line. On short square nails it reads as tidy and expensive rather than formal, which is why it has become the default office manicure. The milky base matters more than people expect — a fully clear base makes the white tip look stuck on, while a milky pink one blends the join.
Paint the white tip before you think you should. Most people start the line too high up the nail; starting lower gives you room to thicken it if needed, and you cannot make a too-thick line thinner.
Apply a base coat, then two thin coats of milky pink, curing between each. For the tip, load a thin liner brush and draw one short curve from the left side wall to the centre, then a second from the right side wall to meet it. Fill below the line and cap the free edge. Tidy the curve with a clean brush dipped in remover before curing, then finish with a glossy top coat.
Do not use a clear base under a white tip on short nails. Without the milky pink the nail bed looks bare and the white edge floats.
2. White Tips with Painted Burgundy Flowers

Adding painted flowers to two or three nails is the cheapest way to lift a plain white french without making it busy. The colour choice is what carries it: deep burgundy and plum read as expensive against white, while pastel flowers tend to look juvenile. Long almond nails give the flowers room to sit properly — on short nails they crowd.
Paint each flower as five separate short strokes pulled inward toward a centre point. Pulling outward makes the petals thick at the tip and thin at the base, which reads as a smudge.
Do the full white french first and cure it. Then, on two or three nails only, use a fine detail brush and burgundy gel to place one flower per nail, straddling the smile line so it sits partly on white and partly on the sheer base. Add a tiny white or silver dot in the centre. Cure, then top coat over the whole nail so the raised paint is sealed flat.
Do not put a flower on all ten nails. Two or three is what makes it look designed rather than decorated.
3. Marbled Pink Tips with a Starburst Accent

Pink is the most-searched french tip colour after white, and this version keeps the shape while swapping the flat tip for a marbled one. Two pinks — one soft, one saturated — are swirled while wet so the tip has movement. The white starburst on the accent nail gives the set a focal point without adding another colour. It suits medium-length almond nails best, where the tip has room to show the swirl.
Marble only works while the gel is still wet. Do the marbling on one nail at a time and cure it before moving on, or the swirl settles flat.
Over a sheer nude base, paint the tip in the lighter pink. While it is still wet, drop two small dots of the deeper pink onto the tip and drag a clean fine brush through them in a loose S shape. Cure. On one accent nail, use white gel and a fine brush to draw four short lines crossing at a point, then a fifth shorter one, so it reads as a star. Seal everything with a glossy top coat.
Avoid dragging the brush back and forth more than twice. Over-working the marble turns two distinct pinks into one muddy one.
4. Pink and White Double French with Gold Rhinestones

The double french stacks a thin line under a thicker one, and it is one of the few french variations that genuinely suits short square nails better than long ones. Two lines fill a short free edge properly where a single line can look mean. The gold rhinestones sit at the cuticle rather than the tip, which pulls the eye up the nail and adds length.
Paint the thicker white line first and cure it. Adding the thin pink line on top of a cured surface means a mistake wipes off without disturbing the white underneath.
Over a sheer pink base, paint a white tip about 3 mm thick and cure. Then draw a thin pink line — roughly 1 mm — directly beneath the white, following the same curve. Cure again. Add two or three fine white swirl lines running from the tip toward the centre of the nail. Finally, place three small gold rhinestones in an arc at the cuticle using a dot of clear gel, cure, and seal with a thicker top coat so the stones sit flush.
Do not make both lines the same thickness. The contrast between thick and thin is the entire effect.
5. Peach Tips with a Single White Daisy

Peach is the easiest coloured french to wear because it sits close to natural skin tone, so it reads as warm rather than bold. On medium almond nails it looks fresh from spring through late summer. The single white daisy on one tip is the whole decoration — everything else stays plain, which is why it works.
Place the daisy so it sits half on the peach tip and half on the sheer base. Sitting entirely on the tip makes it look like a sticker.
Two thin coats of sheer pink base, cured. Paint the peach tip following the almond curve, keeping it around 2–3 mm, and cure. On one nail, use a dotting tool and white gel to place five small dots in a circle, then a single yellow or white dot in the centre. Cure and finish with a glossy top coat across all nails.
Do not add daisies to more than one or two nails. The restraint is what keeps this looking modern rather than like a 2000s nail sticker set.
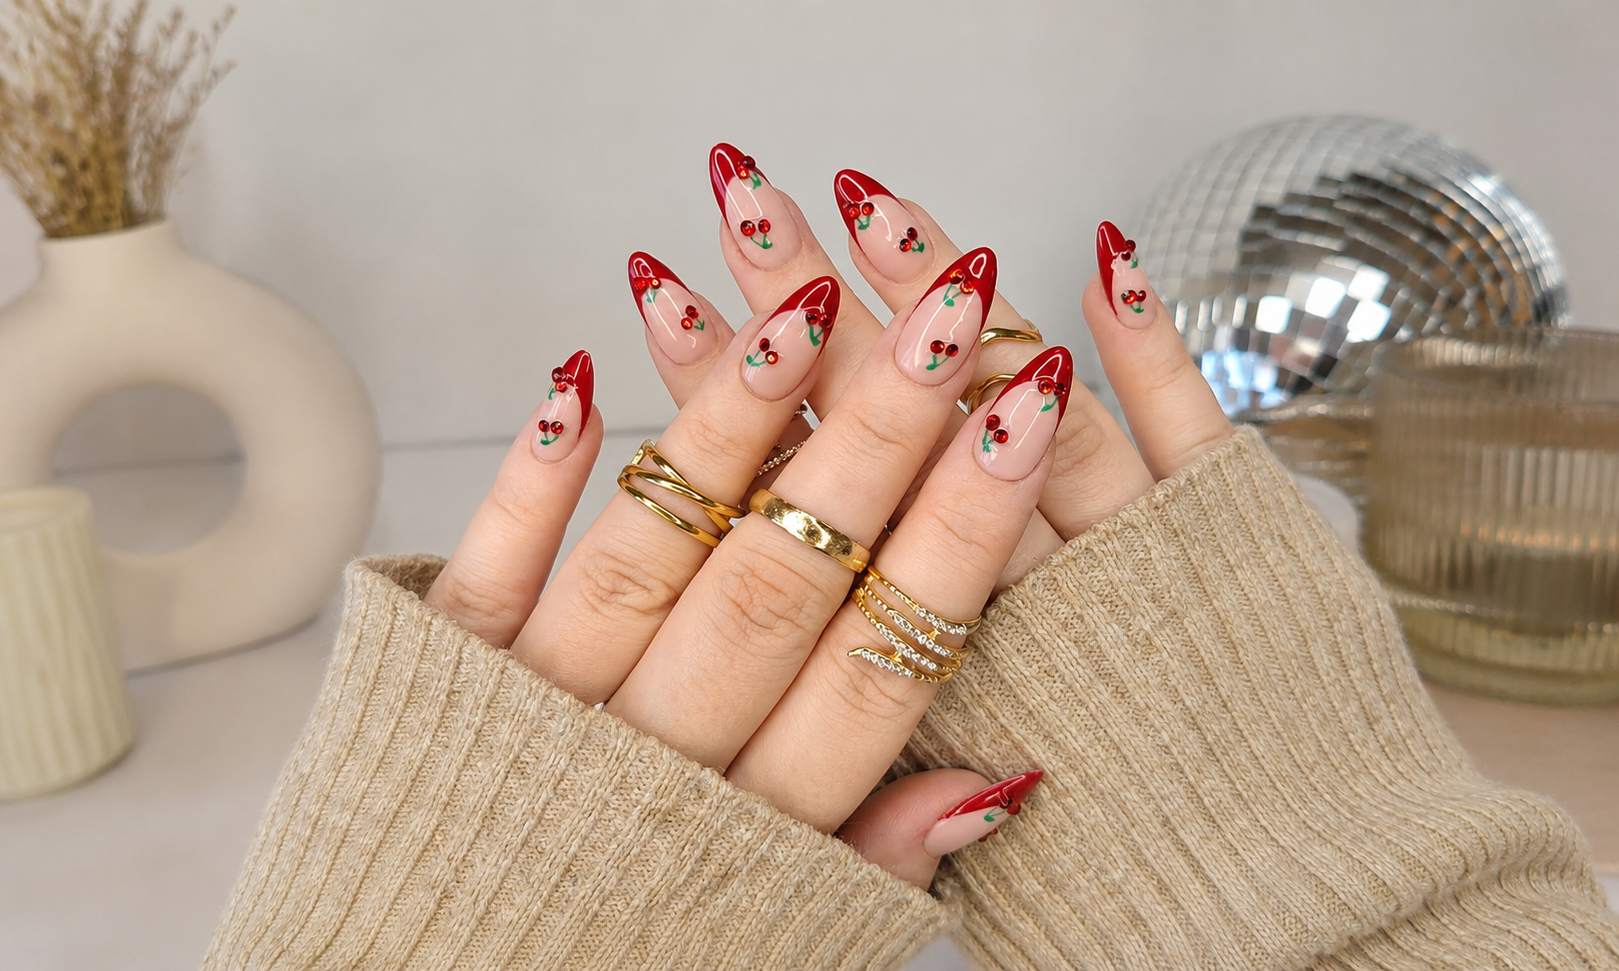
6. Cherry Red Micro-French

A hairline of cherry red over a sheer pink base is one of the most flattering manicures on every skin tone, and it is far easier to wear day to day than a full red nail. The whole effect depends on keeping the line thin — around 1–2 mm. A thick red tip stops looking chic and starts looking like a costume.
Use a red that leans blue rather than orange. Blue-reds read as expensive against a pink base; orange-reds fight it.
Base coat, then two thin coats of sheer pink. Load the very tip of a fine liner brush with red gel — barely any product — and draw the line in two curves meeting in the centre, following the almond edge exactly. Do not fill below it; the line is the design. Cure, then apply a glossy top coat and cap the free edge so the thin line does not wear off at the corners.
Do not attempt this with regular polish. Red lacquer floods and thickens as it self-levels; gel holds the hairline.
Save these french tip designs so they are waiting in your boards next time you book a fill.
7. Burgundy Tips Outlined in Gold Glitter

The gold glitter outline is what turns a burgundy tip from ordinary into salon-made. A fine line of glitter tracing the smile line catches light every time the hand moves, and it hides a slightly uneven curve underneath — which makes this a surprisingly forgiving design for a beginner. One solid burgundy accent nail gives the set weight without repeating the same look ten times.
Apply the glitter line over a still-tacky cured layer rather than a fully wiped one. It grips better and stays put at the side walls.
Sheer nude base, two coats, cured. Paint burgundy tips on eight nails and a full burgundy coat on one or two accent nails, then cure. Using a very fine brush and a gold glitter gel, trace directly along the smile line on the tipped nails only. Add a small white daisy on one nail if you want a focal point. Cure and seal with a glossy top coat.
Do not outline the accent nails as well. The gold line should mark where the tip begins — on a solid nail it has nothing to mark.
8. Black Tips with Polka Dots and a 3D Bow

Black is the most-searched french tip colour of all, and it is far more wearable than people expect — because the base stays sheer, a black tip reads as graphic rather than heavy. This version pushes it into coquette territory with polka dot accent nails and a single 3D bow. Long almond nails carry it best; on short nails the dots crowd.
Keep the dots on the tip only, not scattered down the whole nail. Confining them to the tip keeps the french shape readable.
Over a sheer nude base, paint black tips on all nails and cure. On two accent nails, use a small dotting tool to place evenly spaced black dots across the tip area, then draw a fine curved black line just under the smile line. Attach a small 3D bow charm to one nail with a dot of thick clear gel, cure, then build a thin gel bridge around its base so it cannot catch. Top coat everything except directly over the bow.
Do not top coat over a 3D charm. It clouds the finish and traps a bubble; seal around the base instead.
9. Black Tips Outlined in Gold

Strip the dots and the bow away and you get the most versatile black french there is. A hairline of gold between the sheer base and the black tip costs one extra brush stroke and completely changes how deliberate the manicure looks. This is the version that works in a conservative office and still looks right at dinner.
Draw the gold line on top of the cured black, overlapping the join slightly. Trying to fit it exactly between two colours guarantees a wobble.
Sheer nude base, cured. Paint black tips around 2–3 mm and cure fully. With a fine liner and gold metallic gel, trace the smile line in one continuous pass, letting the gold sit half on the black and half on the base. Cure, then finish with a glossy top coat and cap the edge.
Avoid glitter gold here — flakes break up the line. Use a solid metallic gold gel so the outline stays clean.
- Cat Eye Nail Designs — the magnetic finish people pair with french tips most often
- Chrome Nail Designs — for a mirror tip instead of a painted one
- Almond Nail Designs — the shape that carries almost every french variation
- Floral French Tip Nails — flowers painted onto the tip itself, at the scale that keeps them from reading as stickers
- Spring Nail Designs — the season these tips get worn most
10. Gold Metallic Tips with Pearl Accents

A gold chrome tip catches light in a way painted gold cannot — the surface behaves like metal rather than like polish with sparkle in it. With a few pearls set along the smile line this becomes an event manicure, and it is one of the most requested bridal variations. It needs length: on short nails the metallic tip dominates the whole nail.
Chrome powder needs a cured no-wipe top coat to grip. If you wipe the tacky layer first, the powder will not take and you get a dull smear.
Over a sheer nude base, paint the tip area in a dark base gel and cure — chrome needs something dark underneath to read as metal. Apply a no-wipe top coat over the tip only and cure without wiping. Buff gold chrome powder into the tacky surface with a silicone applicator for around 20 seconds until it flips to mirror. Dust off the excess, set three or four small pearls along the smile line with clear gel, then seal the whole nail.
Do not buff chrome powder over a light nude base. Without a dark layer underneath it looks like beige shimmer, not gold.
11. Pearl Tips with 3D Beads and Bow Line Art

This is the softest version in the set and currently one of the most saved bridal looks. A pearl-white tip replaces the flat white, real 3D pearl beads outline the smile line on two nails, and fine silver bows sit on the others. The effect is quiet up close and photographs beautifully, which is exactly what a wedding manicure needs to do.
Set pearls in a curve that follows the smile line rather than a straight row. A straight line of beads fights the shape of the nail.
Sheer nude base, cured. Paint the tips in a pearl or opalescent white and cure. On two nails, run a thin bead of clear gel along the smile line and press small pearls into it one at a time, then cure and add a second thin layer of gel around their bases to lock them down. On the remaining nails, draw a small bow near the tip with a fine brush and silver gel. Glossy top coat everywhere except over the pearls.
Do not skip the second gel layer around the pearls. Unsealed beads catch on clothing and lift within days.
12. Soft White Ombre Tips with Scattered Daisies

Instead of a hard line, the white fades into the base. This is the most forgiving french of all — there is no smile line to get wrong — and it grows out almost invisibly, which makes it the best choice if you cannot get back to the salon every two weeks. On long stiletto nails the gradient has room to fade gradually rather than abruptly.
Build the fade in three thin passes rather than one thick one. Each pass should stop slightly further from the tip than the last.
Over a sheer nude base, sponge white gel onto the tip using a small makeup sponge, pressing rather than wiping. Blend upward, stopping about a third of the way down the nail. Cure, then repeat with a second lighter pass to smooth the transition. Scatter five or six tiny white daisies across the fade with a dotting tool. Cure and seal with two thin top coats to smooth the sponge texture.
Avoid loading the sponge heavily. Too much product creates a gritty texture that no amount of top coat will smooth out.
13. Cherry Tips on White French

This is the playful end of the french tip. The base is an ordinary white french on long almond nails, and two accent nails carry a pair of painted cherries hanging from a fine yellow stem. It works because everything except the cherries stays completely plain — the fruit reads as a small joke rather than a whole theme, which is what keeps it wearable past the age of twenty.
Paint the stem first and the fruit second. Trying to attach a stem to two finished circles almost always lands it off-centre.
Complete the white french on all ten nails and cure. On two accent nails, draw a fine curved yellow line from the tip area down toward the centre, then split it into a Y. Add two solid red dots at the ends of the Y using a dotting tool, keeping them the same size. Cure, then top coat the whole nail so the raised dots sit flush.
Do not outline the cherries in black. It turns a delicate design into a cartoon.
14. Burgundy Glitter Tips on an Angle

Angling the tip instead of curving it is the fastest way to make a french look modern, and it flatters shorter nail beds because the diagonal draws the eye lengthways. In a dark burgundy glitter it becomes an evening manicure. Two solid glitter accent nails give the set weight so the angled tips do not have to carry it alone.
Angle every tip in the same direction across the hand. Mirroring them nail to nail looks accidental rather than designed.
Sheer pink base, cured. On eight nails, paint a diagonal tip running from about a third of the way down one side wall up to the opposite corner, using burgundy glitter gel. Two coats gets the density right. On the remaining two nails apply full burgundy glitter. Add two or three tiny white dots along the diagonal edge, cure, and finish with a thicker top coat — glitter needs extra to level out.
Do not use a thin top coat over glitter. One coat leaves the surface gritty and it catches on everything.
15. Black Tips with Painted Daisies

The most graphic set here, and the one that reads best in photographs. Plain black tips on eight nails, and two accent nails covered in loose black-and-white daisies over a sheer pink base. The daisies use the same black as the tips, which is what holds the two halves of the design together — a second colour would break it.
Let the daisies run off the edge of the nail rather than sitting neatly inside it. Cropped flowers look intentional; centred ones look like clip art.
Over a sheer pink base, paint black tips on eight nails and cure. On the two accent nails, use a fine brush to paint five-petal daisies in black, letting two or three of them extend past the nail edge. Add a small white dot to each centre and a few white petals for contrast. Cure and seal with a glossy top coat.
Do not put daisies on more than two nails. The contrast between plain and patterned is the whole point.
Which French Tip Suits Your Nail Shape
| Shape | Best french style | Avoid |
|---|---|---|
| Short square | Double french, micro-french, thin colour tips | Thick tips — they shorten the nail |
| Short almond | Classic white, burgundy with a gold outline | Deep V smile lines |
| Medium almond | Almost anything — the most versatile shape | — |
| Long almond | Black tips, metallic tips, painted florals | Micro-french — it disappears |
| Coffin / ballerina | Bold colour tips, chrome tips | Very thin hairlines |
| Stiletto | Ombre and soft-fade tips | Hard geometric lines |
If you are still deciding on shape, the almond nail guide covers how each length actually wears day to day, and white nail designs goes deeper on milky and sheer bases.
How Long French Tips Last
In gel, two to three weeks. In regular polish, three to five days before the tip starts to chip — and a chipped white tip is far more visible than a chipped colour, because the eye is already drawn to that edge.
The real advantage is how they grow out. As the nail grows the tip stays where it belongs, at the free edge, so the gap at the cuticle is far less obvious than it would be under a solid colour. Ombre tips hide regrowth best of all; a hard-line micro-french shows it soonest.
Common Questions
How thick should a french tip be?
Roughly 2–3 mm on a short nail, and no more than about a fifth of the nail length on a longer one. When in doubt go thinner — a thick tip visually shortens the nail.
Can you do french tips on very short nails?
Yes, and they suit short nails well. Use a micro-french of about 1 mm, or a double french. Both add the illusion of length without eating into the nail bed.
Why does my smile line look uneven?
Almost always because it was drawn in one stroke. Paint two short curves from each side wall inward so they meet in the middle, then tidy the join with a clean brush dipped in remover before curing.
What colour french tip suits everyone?
A thin blue-leaning cherry red, or a soft baby pink, both over a sheer base. Neither reads as costume and both flatter every skin tone.
Do french tip guide stickers work?
They help, but they sit flat while the nail is curved, so they lift at the side walls and leave a gap. Press the ends down firmly and expect to tidy the corners by hand.
Are french tips still in style?
Yes — but the current version is thinner, often coloured, and frequently on short nails. The thick white tip on long square nails is the version that dates it.
Where to Start
If you have never done a french at home, start with the cherry red micro-french or the classic white on short square nails. Both need only one accurate line, and both look finished even if that line is slightly imperfect. Once the line feels steady, move up to the double french, and leave the chrome and pearl versions until you are comfortable working with powder and 3D beads.
If you like the way a french draws light to the edge of the nail, the same logic runs through chrome nails and cat eye nails — and a soft pink base is the most reliable foundation under any of them.