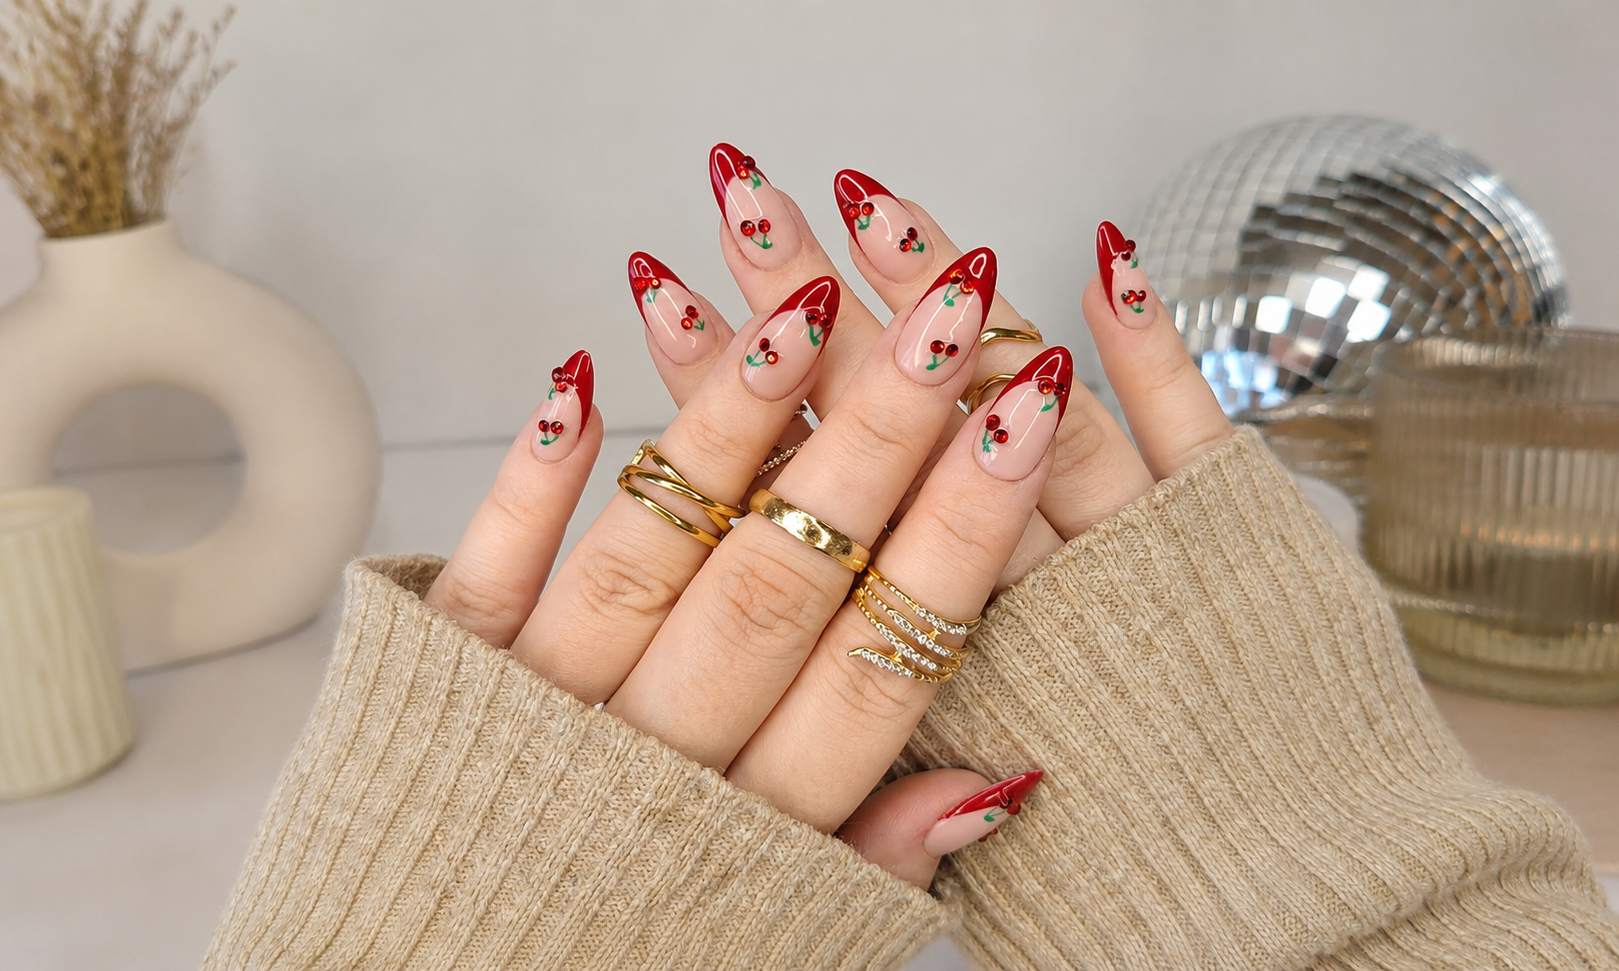
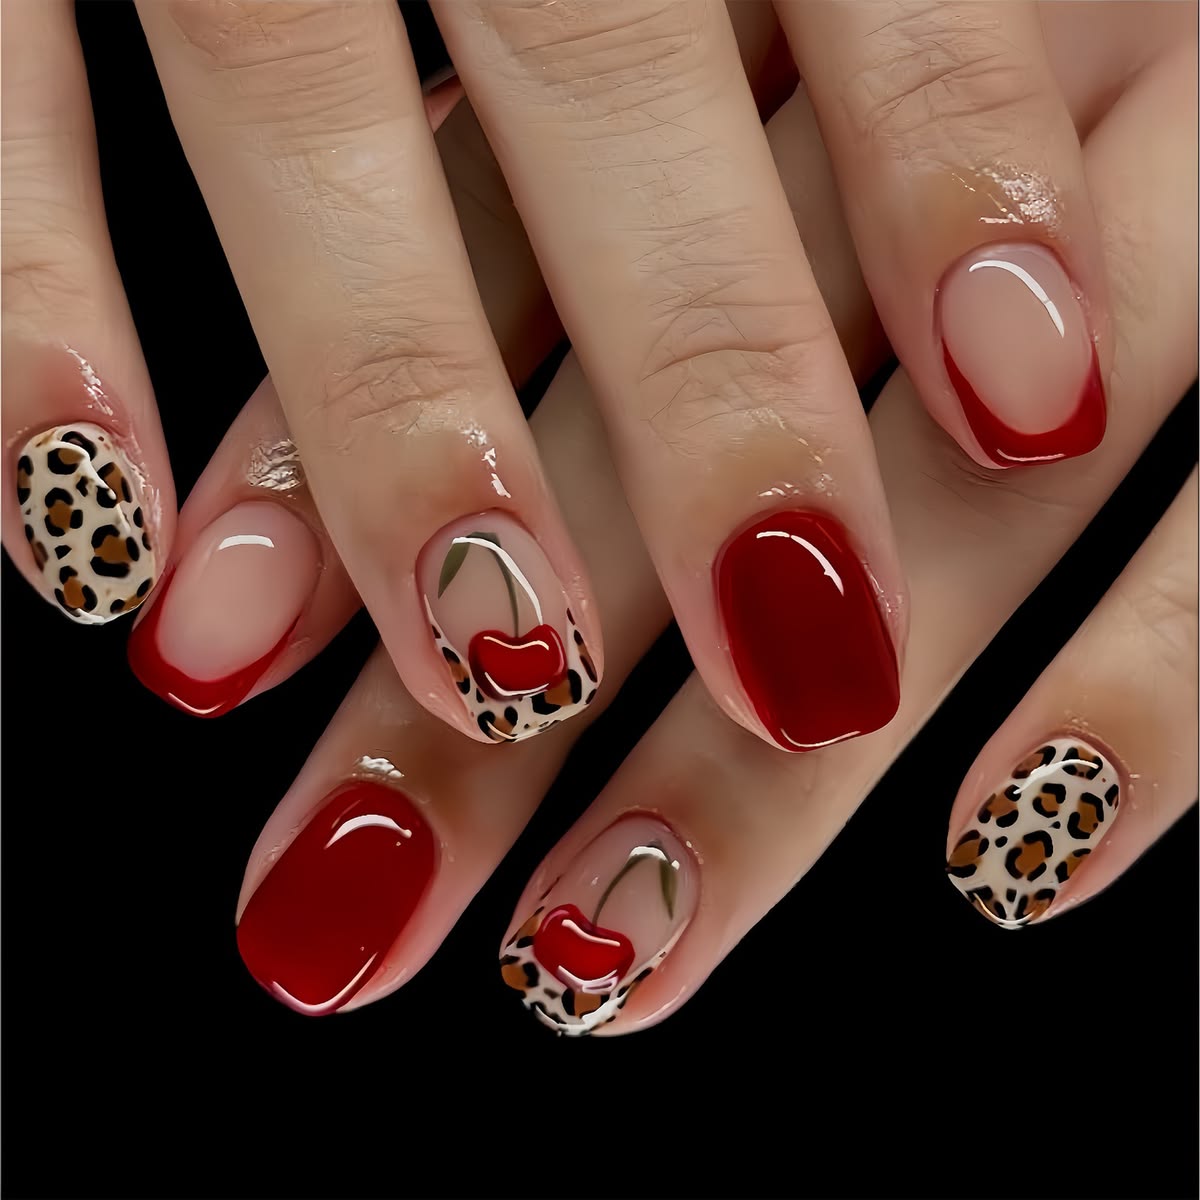
Floral french tips have outlasted every seasonal turnover since 2022, and the reason is structural rather than decorative. A french tip already pulls the eye to the free edge of the nail. Put a flower near that line and you get two focal points for the work of one, which is why a plain manicure with three painted petals on it reads as an hour of salon time it did not take.
The thing that decides whether it looks professional or homemade is scale. A painted flower on a nail should be smaller than instinct tells you. Three variables control it: how wide the flower is relative to the nail, whether it crosses the smile line or sits entirely on one side of it, and how many nails carry one at all.
On width, the working number is 4–6 mm on a medium almond nail — roughly a third of the nail at its widest point. Anything larger stops reading as a detail and starts competing with the tip itself. And the flower should straddle the smile line rather than sit politely above or below it; sitting entirely on the tip is what makes a painted flower look like a sticker.
Below are 14 designs, each with the colour combination, who it suits and the steps to get it. They run from a flat painted daisy that needs one steady brush through to 3D blossom work, so you can start wherever your hand is comfortable.
- Keep each flower to about 4–6 mm wide — scale is what dates a floral manicure, not colour
- Paint petals as short strokes pulled inward to a centre point, never outward
- Two or three flowered nails out of ten. The plain nails are what make the painted ones look deliberate
- Let the flower cross the smile line — a flower sitting wholly on the tip reads as a sticker
- Classic White Tips with Painted White Daisies
- Butter Yellow Tips with a Single 3D Daisy
- Micro-Floral French with Scattered Pastel Buds
- White Tips with Lily of the Valley Sprigs
- White Tips with Hand-Painted Pink Tulips
- Pink and White Tips with Polka Dots and Blossom
- Pale Blue Tips with White Daisies and Pearls
- Butter Yellow Tips with a Painted Pink Lily
- Pastel Rainbow Tips with a Daisy on Each
- Hot Pink Accents with White Tips and Pink Flowers
- White Tips with Cobalt Blue Flowers
- Blue and White Porcelain Florals with Bows
- White Tips with a Chrome Outline and 3D Flowers
- 3D Pink Blossom Tips for a Bridal Set
1. Classic White Tips with Painted White Daisies

This is the version that suits almost everyone, and it is the one to learn first. A standard white tip over a sheer nude base, then a small white daisy with a thin green stem trailing down from the smile line on two nails only. Because the flower is the same white as the tip, the whole hand stays quiet — it reads as texture rather than decoration. Medium almond carries it best; on very long nails the stem has too much empty nail to cross.
Paint the stem before the petals. A stem drawn afterwards has to dodge the flower head and almost always comes out crooked, whereas petals will happily cover the top of a stem that is already there.
Base coat, then two thin coats of sheer nude, curing between each. Paint the white tips about 2–3 mm thick and cure. On two nails, use a fine liner and pale green gel to draw a single curved stem running from the tip down toward the centre. Then load a dotting tool with white and place five small dots around a point at the top of the stem, pulling each one gently inward. Add a yellow dot in the centre. Cure, then a glossy top coat over everything.
Do not use a bright white for both the tip and the petals. Drop the petal white by one shade — slightly softer — or the flower disappears into the tip when the light hits it.
2. Butter Yellow Tips with a Single 3D Daisy

Butter yellow is the softest coloured french you can wear — it sits close enough to skin tone that it never reads as bold, and it flatters warm and olive skin especially well. One raised cream daisy on a single nail is the entire decoration. On long almond nails the tip has room to be generous, around 4 mm, without the nail looking heavy.
A 3D flower needs builder gel, not colour gel. Colour gel slumps flat under the lamp; builder holds the petal shape while it cures, which is the whole point of raising it.
Two coats of sheer nude, cured. Paint the butter yellow tip following the almond curve and cure. On one nail, place five small beads of cream builder gel in a circle using a silicone tool, then press the outer edge of each bead down so it tapers into a petal. Cure. Drop a bead of gold gel into the centre and cure again. Top coat the whole nail but keep the layer thin over the flower so the raised edges stay defined.
Avoid flooding the 3D flower with top coat. A thick layer fills the gaps between the petals and turns a raised daisy back into a flat blob.
3. Micro-Floral French with Scattered Pastel Buds

Here the flowers replace the tip rather than decorate it. Instead of a solid band of colour, the free edge carries a scatter of tiny buds in pink, blue and butter yellow, so the eye still reads a french shape without a hard line anywhere on the nail. It is the most forgiving design in this list, because there is no smile line to get wrong. It suits short and medium nails equally well.
Scatter the buds unevenly. Three on one side, one on the other, a gap in the middle. An even spread across the tip immediately looks like a printed transfer rather than hand work.
Over two coats of sheer nude, use the smallest dotting tool you own. Place clusters of three or four dots in each colour along the free edge, keeping them inside the top fifth of the nail. Do not outline anything. Cure, then add a single white dot beside two or three of the clusters to give the scatter some depth. Cure again and seal with a glossy top coat.
Do not use more than three colours. Four or more turns a delicate scatter into confetti, and the french shape stops being readable at arm’s length.
4. White Tips with Lily of the Valley Sprigs

Lily of the valley is the most underrated flower in nail art because it is essentially a curved line with dots on it — far easier than a five-petal flower and far more elegant when it lands. The white bells against a sheer base with a green stem give a spring set that still looks appropriate in an office. Almond nails of any length work; the sprig simply gets longer.
Hang the bells from one side of the stem only, alternating slightly as they go down. Bells on both sides makes it read as a fern, not a lily of the valley.
Sheer nude base, cured, then a thin white tip of around 2 mm. On two or three nails, draw a soft green stem curving from the tip toward the cuticle. Using a dotting tool, place four or five white dots hanging off alternating points on the stem, each slightly smaller as you move down. Add two small green leaves at the base of the stem with a flat brush. Cure and finish glossy.
Do not make the bells all the same size. Tapering them down the stem is what gives the sprig its natural droop; equal dots look like a string of beads.
5. White Tips with Hand-Painted Pink Tulips

Tulips are a good beginner flower because the head is three short strokes rather than five, and the shape reads instantly even when it is slightly wrong. Pink tulips with green stems over a sheer base, plus a few scattered red berry dots on the remaining nails, gives a set that feels like early spring without being pastel. It sits particularly well on short and medium almond nails.
Paint the tulip head as three strokes that meet at the bottom: left, right, then centre. Painting it as one solid shape and trying to notch the top afterwards never produces a clean tulip.
Two coats of sheer nude, cured, then white tips at about 2 mm. On two nails, draw a green stem from just below the smile line downward, then paint the tulip head at the top in soft pink, straddling the white tip so part of the flower sits on it. Add two narrow leaves either side of the stem. On the other nails, place three or four tiny red dots at random. Cure and top coat.
Avoid a red tulip on a white tip. The contrast is so strong that the flower reads before the manicure does — soft pink or dusty rose keeps the tip and the flower in balance.
6. Pink and White Tips with Polka Dots and Blossom

This mixes two finishes across one hand: some nails get a white tip with pink polka dots on it, others get a plain tip with a raised pink blossom sitting on the smile line. Alternating the two is what stops it looking like a single repeated idea. The dots and the blossom share the same pink, which is what holds the two halves together — a second pink would break it. Medium almond suits it best.
Decide the pattern before you start: dots, blossom, dots, blossom, plain. Working it out nail by nail almost always ends with the two thumbs matching, which looks accidental.
Sheer pink base, two coats, cured. Paint white tips on all ten nails and cure. On the dotted nails, place five or six small pink dots directly on the white tip, spaced unevenly. On the blossom nails, build a five-petal flower in pink builder gel across the smile line, cure, then add a white dot centre. Top coat, keeping the layer thin over the raised flowers.
Do not put dots and a blossom on the same nail. One idea per nail is what makes a mixed set look designed rather than crowded.
Save these floral french tips so they are sitting in your board the next time you book an appointment and go blank in the chair.
7. Pale Blue Tips with White Daisies and Pearls

Pale blue is a quietly flattering french colour because it cools down any warmth in the nail bed, which makes the hand look cleaner. Add white daisies, a few fine gold lines and two or three micro pearls and it turns into something you could wear to a wedding. Long almond gives the gold line work room to run without crossing the flowers.
Place the pearls last and use a dot of clear builder gel as glue, not top coat. Top coat is too thin to hold a pearl through a week of washing up.
Sheer nude base, cured. Paint the pale blue tip at around 3 mm and cure. Add white daisies across the smile line on two nails, five petals pulled inward, with a small gold dot at each centre. On the remaining nails, draw one or two fine gold lines curving from the tip toward the cuticle. Cure, place two or three micro pearls on clear builder gel, cure again, then top coat around them.
Avoid pearls on more than three nails. Beyond that they stop being an accent and start catching on clothing every time you dress.
8. Butter Yellow Tips with a Painted Pink Lily

The same butter yellow tip as earlier, but here it carries a proper painted flower — a pink lily with visible petal veining, sitting across the smile line on one or two nails, with a handful of tiny gold charms scattered on the rest. Yellow and pink is an unusual pairing that works because both are desaturated. It suits medium almond, where the lily has room to be read without dominating.
Paint the lily in two passes: a flat pink shape first, cure it, then a deeper pink line down the centre of each petal. Veining wet paint just smudges the petal into one muddy tone.
Sheer pink base, two coats, cured, then the butter yellow tip at 2–3 mm. On one or two nails, paint five pointed petals radiating from a centre point that sits on the smile line. Cure. Add a fine deeper-pink vein down each petal and three small gold dots at the centre. Cure. On the plain nails, place two or three flat gold charms with clear gel, then top coat everything.
Do not centre the lily on the nail. Pushed slightly to one side and crossing the tip, it looks placed; dead centre, it looks like a logo.
9. Pastel Rainbow Tips with a Daisy on Each

Every nail gets a different pastel tip — lilac, mint, pink, blue, butter yellow — and every tip gets one small white daisy sitting just below it. The repetition of the daisy is what stops five colours becoming chaos: the flower is the constant, the colour is the variable. It is a summer set, and it needs length. On short nails five colours across ten nails looks busy rather than playful.
Keep all five pastels at the same lightness. One colour noticeably darker than the rest pulls the whole hand toward it and breaks the rhythm.
Sheer nude base on all ten, cured. Paint each tip in its own pastel, keeping every tip the same thickness — around 3 mm — and cure. On each nail, use a dotting tool to place five small white dots in a circle just under the smile line, pulling each inward, then a single yellow dot in the centre. Cure and finish with a glossy top coat across the set.
Do not vary the tip thickness between colours. With five shades running across the hand, uneven tips are the first thing anyone notices.
- 15 French Tip Nail Designs — the full guide to getting the smile line right before you add a flower to it
- Spring Nail Designs — where most of these florals belong from March onward
- 3D Nail Art — for the raised blossom and builder gel techniques used above
10. Hot Pink Accents with White Tips and Pink Flowers

Two nails go solid hot pink, the rest keep a white tip with hot pink flowers painted across it. It is the boldest set in this list and the only one that genuinely reads from across a room. The trick is that the solid nails and the painted flowers use exactly the same pink, so the hand still looks like one manicure. Medium almond or squoval both carry it.
Put the solid nails on the ring finger and the thumb, not two neighbours. Two solid blocks side by side reads as a mistake rather than a choice.
Sheer pink base on all nails, cured. Paint two nails fully in hot pink, two coats, and cure. On the remaining nails, paint a white tip at 2–3 mm. Using a fine brush and the same hot pink, paint four or five small flowers per nail, letting some sit on the white and some on the sheer base. Add a white dot to each centre. Cure and seal with a glossy top coat.
Avoid outlining the flowers in a darker pink. At this saturation an outline turns the flower into a cartoon, and the set loses the finish that makes it wearable.
11. White Tips with Cobalt Blue Flowers

Cobalt on white is the highest-contrast combination here, and it works because blue is the one strong colour that does not read as loud on hands. The flowers are painted large enough to spill off the white tip and onto the sheer base, which is what stops them looking contained. This suits medium to long almond; on short nails a cobalt flower this size eats the whole nail.
Use a blue that leans slightly toward navy rather than a pure primary. Primary blue against white goes chalky under artificial light; a navy-leaning cobalt holds its depth.
Two coats of sheer nude, cured. Paint white tips slightly thicker than usual, around 4 mm, and cure — the flowers need something to sit on. On three or four nails, paint five-petal cobalt flowers straddling the smile line, each around 5 mm across, letting a petal or two run past the white onto the base. Cure. Add a small gold dot to each centre, cure, then top coat.
Do not paint a flower on every nail. With a colour this strong, four flowered nails out of ten is already the upper limit before the set tips into fancy dress.
12. Blue and White Porcelain Florals with Bows

This is the delft porcelain look — cream-white tips with blue flowers, ribbon bows and fine line work painted over them, so the nail reads like a piece of china. Two nails go fully cream and carry a larger flower; the rest keep a tip with a small bow or a trailing line. It is the most detailed set here and the one that most rewards a steady hand. Medium almond is the right canvas.
Thin the blue gel slightly with a drop of clear so the line work goes translucent at the edges. Solid blue lines look printed; slightly transparent ones look painted, which is the entire effect.
Sheer nude base, cured. Paint two nails fully in cream and a white tip on the rest, then cure. On the cream nails, paint a large blue flower with five loose petals and fine radiating lines from the centre. On the tipped nails, add a small blue bow at the smile line or a short trailing sprig. Cure, add fine detail lines in a deeper blue, cure again, and top coat glossy.
Do not make the bow symmetrical. A slightly uneven bow with one loop larger reads as hand-painted; a perfect one reads as a decal.
13. White Tips with a Chrome Outline and 3D Flowers

A thin silver chrome line traced along the smile line turns a plain white tip into something that catches light as the hand moves, and the raised white flowers with rhinestone centres pick that shine back up. The chrome does the work here — without it the white-on-white would be almost invisible. It suits medium almond and needs a very clean smile line, because chrome shows every wobble.
Apply chrome powder over a tacky no-wipe top coat, not over cured colour. Rubbed onto a cured surface it goes patchy and will not hold a clean line.
Sheer pink base, cured. Paint the white tip and cure. Apply a thin layer of no-wipe top coat only along the smile line, cure, then rub silver chrome powder over that line with a silicone applicator and dust off the excess. Seal with top coat. On two nails, build small white flowers in builder gel, cure, and set a tiny rhinestone in each centre with clear gel before a final thin top coat.
Avoid running the chrome line all the way into the side walls. Stopping it a millimetre short on each side keeps the line looking deliberate instead of smudged.
14. 3D Pink Blossom Tips for a Bridal Set

The most involved design here, and the one worth booking a salon for. Raised pink and white blossoms with small green leaves cluster along the smile line on two or three nails, while the rest stay plain white tips. It photographs beautifully, which is the point of a bridal set, and it lasts long enough for a wedding week if the top coat is done properly. Almond, medium to long.
Build the cluster in two heights — a couple of blossoms sitting slightly higher than the others. A cluster at one uniform height flattens out completely in photographs.
Sheer nude base, cured, with white tips at around 3 mm. On two or three nails, place five-petal blossoms in pink and white builder gel along the smile line, curing after every two flowers so nothing slumps. Add small green leaves between them with a fine brush. Drop a gold or white bead into each centre and cure. Finish with a thin top coat brushed carefully around the raised work rather than over it.
Do not do this on all ten nails before a wedding. Three flowered nails photograph better than ten, and you will spend the day catching the raised work on your dress.
Which Floral French Suits Your Nail Shape
| Shape | Best floral french | Avoid |
|---|---|---|
| Short square | Micro-floral scatter, tiny painted daisies | 3D blossom clusters — no room to sit |
| Short almond | Pink tulips, lily of the valley sprigs | Large cobalt flowers — they swallow the nail |
| Medium almond | Almost anything — the most forgiving shape | — |
| Long almond | 3D blossoms, pastel rainbow tips, gold line work | Micro-floral scatter — it gets lost |
| Coffin / ballerina | Bold painted flowers, chrome-outlined tips | Fine single-stem sprigs |
| Stiletto | Trailing sprigs that follow the taper | Wide five-petal flowers at the tip |
If your smile line is still the part that lets you down, the full french tip guide covers the two-curve method that fixes it, and the almond nail guide explains how each length actually wears day to day.
How Long Floral French Tips Last
In gel, two to three weeks for the flat painted designs. Anything with 3D work or rhinestones drops to ten to fourteen days, because the raised elements catch and lift long before the gel itself fails. In regular polish, three to four days at best — painted detail chips faster than flat colour because the paint sits proud of the surface.
They grow out well, which is the quiet advantage of putting the flower near the tip rather than the cuticle. As the nail grows the flower travels away from the nail bed and the gap at the base stays clean. The micro-floral scatter hides regrowth longest; the chrome-outlined tip shows it soonest, because a hard shiny line makes any movement obvious.
Common Questions
How do you paint tiny flowers on nails?
Five short strokes pulled inward toward a single centre point, using a fine liner brush held almost flat against the nail. Pulling outward from the centre makes each petal thick at the tip and thin at the base, which reads as a smudge rather than a flower.
What colour flowers suit a french tip?
Soft pink, cream and white flatter every skin tone and never fight the tip. Cobalt blue and burgundy work if the flower is the only decoration on the hand. Avoid pastel yellow and lilac together — at small scale they blur into one another and read as a stain.
Can you do floral french tips on short nails?
Yes, but scale down twice. Use a 1–2 mm tip and keep flowers under 4 mm across, or skip the flower head entirely and use the micro-floral scatter instead. A full five-petal flower on a short nail leaves nowhere for the eye to rest.
Do 3D flowers on nails catch on things?
They do, particularly on hair and knitwear. Keeping them to two or three nails and placing them on the ring finger and thumb rather than the index reduces it noticeably, because those fingers do less of the reaching and grabbing.
How long do painted flower nails last?
Flat painted florals sealed under gel top coat last the full two to three weeks of the manicure. Raised 3D work lasts ten to fourteen days. The paint itself rarely fails — what goes first is the top coat wearing thin over the highest point of the design.
Are floral french tips good for a wedding?
They are one of the better choices, because a flower near the tip photographs clearly in ring shots where a design near the cuticle gets hidden. Keep it to three flowered nails, book five days before rather than the day before, and choose cream or pale pink over anything bright.
Where to Start
If you have never painted a flower on a nail, start with the classic white daisy or the lily of the valley sprig. Both are built from dots and one curved line, both forgive a shaky hand because the shapes are meant to look loose, and both still look finished if only two nails carry them. Once the dotting tool feels natural, move to the tulips and then the cobalt flowers, where the petals have to be painted rather than dotted. Leave the 3D blossom work and the chrome outline until you are comfortable with builder gel, because both punish a rushed cure.
If the flowers are what drew you here rather than the french shape, the same painting techniques carry straight into full floral nail designs where the art covers the whole nail. And if you want the tip without the flower, a plain white or milky base is the most reliable foundation under any of these, while wedding nail ideas covers what actually photographs well on the day.