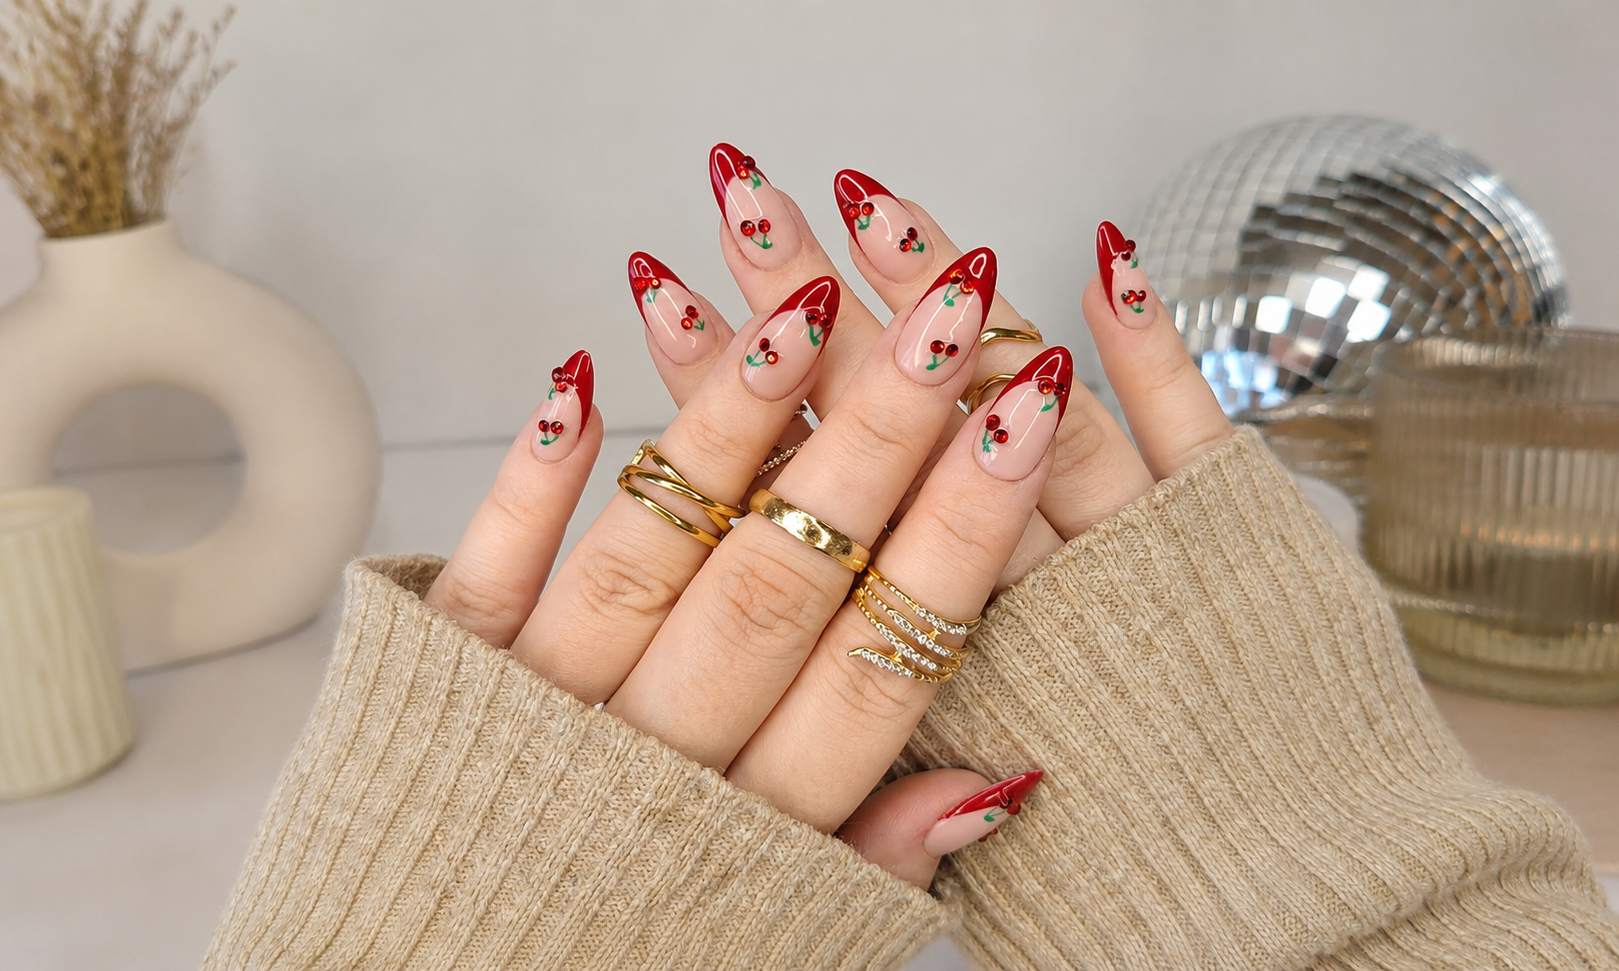
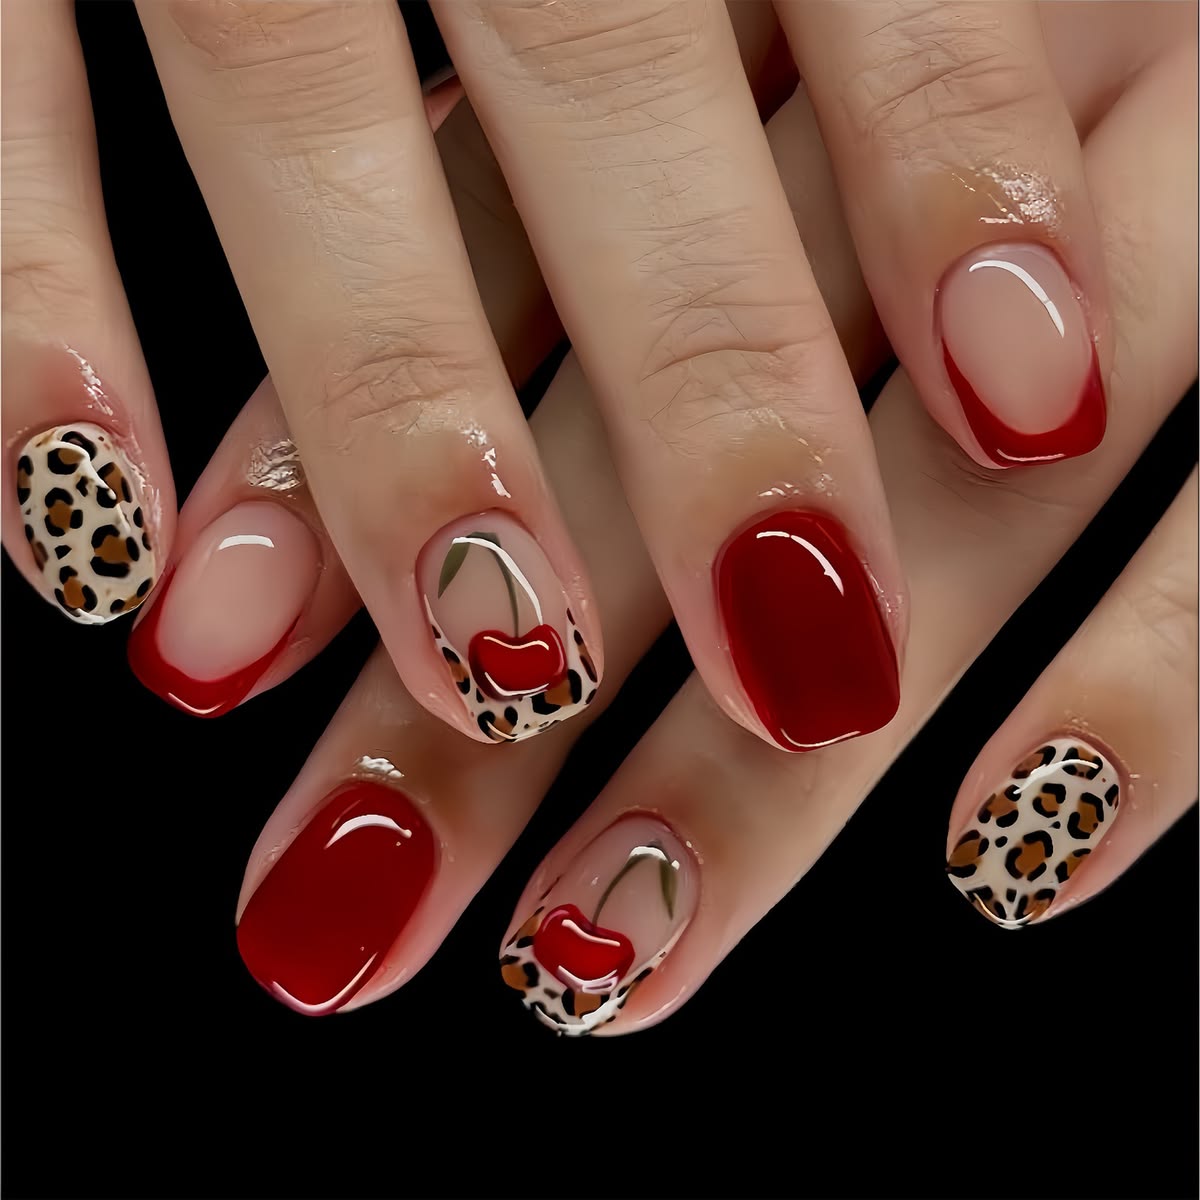
A brown french tip does something a black one cannot. It gives you the same graphic edge at the free edge of the nail, the same sharp line against a bare base, but it stops short of looking severe — and that single degree of softness is the reason chocolate brown has quietly replaced black as the default dark french.
The set below takes that idea one step further by putting a white flower across the smile line on two nails. It is a small decision with a large effect. White is the highest-contrast thing you can place on a dark brown tip, so those two nails become the focal point of the whole hand and the remaining eight can stay completely plain.
Everything that makes this set work is a measurement rather than a talent: how deep the tip sits, how opaque the white has to be over brown, and where the flower crosses the line. Those three numbers follow, along with the brush technique for the petals, which is the only part that takes practice.
- Pick a brown with red in it, not grey. A grey-brown reads as faded black under indoor light
- White needs two thin coats over a dark tip. One coat turns grey and the flower disappears
- Let the flower cross the smile line. A flower sitting wholly on the tip looks like a sticker
- Two flowered nails out of ten. The plain nails are what make the painted ones read as deliberate

What Are Brown French Tip Nails?
Brown french tip nails are a french manicure where the tip is painted in a shade of brown — espresso, chocolate, cocoa or caramel — instead of the traditional white, over a sheer nude or blush base. The depth of the brown decides the mood: a near-black espresso reads formal, a mid chocolate reads warm, and a caramel reads almost like a tan.
The version shown here uses a deep glossy chocolate on medium almond nails, with the tip carried a little further up the nail than a classic french. That extra depth is deliberate. A dark colour needs more nail to register as a shape rather than a shadow, which is why a 2 mm black or brown tip tends to look like a chip while a 4 mm one looks intentional.
The exact shades in this set
| Element | Shade | Coats | Why this one |
|---|---|---|---|
| Base | Sheer blush nude | 2 thin | Enough pink to stop the brown looking cold, sheer enough to see the nail |
| Tip | Deep glossy chocolate, red-based | 2 | Holds warmth at depth where a grey-brown goes flat |
| Petals | Dense opaque white | 2 thin | A sheer white over brown cures grey, not white |
| Petal lines and centre | The same chocolate as the tip | 1 | Reusing the tip colour is what ties the flower to the set |
Do not buy a separate brown for the petal detail. Using the identical bottle for the tip and for the fine lines inside the flower is the difference between a set that looks designed and one that looks like two ideas on the same hand.
How Do You Get Brown French Tips at Home?
Paint the base first and cure it, then build the tip in two thin coats rather than one thick one, working from the sidewall inward on each side so the two halves of the smile line meet in the middle. The full sequence follows.
- Prep and base coat. Push back cuticles, buff lightly, wipe with cleanser. Base coat and cure.
- Two thin coats of sheer blush, curing each. The base should still show nail through it.
- Mark the depth before you commit. On an almond nail, aim for roughly 4 mm at the deepest point of the curve — a little under a third of the nail. Anything shallower reads as a chip on a colour this dark.
- Paint one side, then the other. Load a short flat brush, start at the left sidewall and sweep down and in toward the centre. Repeat from the right. Meeting in the middle gives a cleaner curve than trying to draw the whole smile in one stroke.
- Cure, then do it again. The second coat is where the colour gets its depth. Follow the first line exactly rather than trying to widen it.
- Leave the flowers until after the tips are cured. Painting onto a wet tip drags brown into the white and there is no rescuing it.
Do not use a matte top coat on this set. Matte kills the glass-like finish that makes a deep brown look expensive, and it turns the white petals chalky at the same time.
How Do You Paint the White Flower?
Paint each petal as a short stroke pulled inward toward a centre point, never outward from it. Pulling inward lets the brush taper naturally as it lifts, which is what gives a petal its pointed base and rounded tip. Pulling outward does the reverse and produces five blunt fingers.
Decide where the centre sits before you touch the nail. In this set the flower centre lands just above the smile line, so the lower petals lie on the brown and the upper petals lie on the nude. That straddle is the whole trick — the flower reads as though it was placed on the nail rather than printed into the tip.
- Mark the centre with one tiny dot of white just above the smile line. Everything is built around it.
- Pull five petals inward to that dot, spacing them like the points of a star. Keep each petal about 4–5 mm long on a medium almond nail.
- Cure, then add a second white coat over the petals only. This is the step people skip, and it is the reason home versions look grey.
- Draw fine brown lines radiating from the centre out along each petal with a liner brush, using the tip colour. Two or three lines per petal, not more.
- Ring the centre with small brown dots and cure. Glossy top coat over the whole nail.
Let one or two petals run off the edge of the nail. A flower fully contained inside the nail plate looks like a decal; one that is cropped by the sidewall looks like a photograph of a real bloom.
Do not make the petals identical. Slight variation in length and angle is what separates hand-painted from stamped. A perfectly even five-petal flower reads as a sticker even when it is not one.
Why Brown Works Where Black Does Not
Black against a sheer nude is the highest contrast a manicure can produce, and high contrast draws attention to every flaw in the line. A smile line that is half a millimetre uneven is invisible in brown and obvious in black.
Brown also sits in the same family as skin, so the tip reads as an extension of the hand rather than an object stuck on the end of it. That is why a deep brown french flatters a far wider range of skin tones than black does, and why it works on short nails where black tends to look truncated. If you want the full range of colours and lengths, the french tip nail guide covers fifteen variations of the same shape.
Which brown suits your skin tone
| Skin tone | Brown to reach for | Avoid |
|---|---|---|
| Fair, cool undertone | Cocoa with a red base | Yellow-toned caramel — it drains the hand |
| Fair, warm undertone | Chocolate or chestnut | Grey-brown taupe |
| Olive and medium | Deep espresso | Mid milk-chocolate — too close to the skin to show |
| Deep | Near-black espresso, or a warm caramel for contrast | Anything in the middle of the range |
Save this so the shade list and the petal method are there when you sit down to do them.
How Long Do Brown French Tips Last?
In gel, two to three weeks — the same as any other gel manicure. What changes with a dark french is not how long it lasts but how the growth reads. A dark tip grows out at the free edge, away from the cuticle, so the gap that appears is at the base of the nail where a sheer nude sits. That is far less obvious than a dark colour retreating from the cuticle, which is why a brown french buys roughly a week more wearable life than a full brown nail.
The flowers are the first thing to show wear, because white sits on top of everything else and takes the most surface abrasion. Keeping a proper glossy top coat over them, rather than stopping the top coat at the art, is what makes them last the full three weeks.
- 15 French Tip Nail Designs and How to Get Each One — the same shape in fifteen colours and lengths
- 14 Floral French Tip Nail Designs — more flower placements, including 3D blossom work
- Brown Nail Ideas — where brown goes when it covers the whole nail
Are brown french tip nails still in style?
Yes. Brown moved from a seasonal autumn shade to a year-round neutral, and the french tip version has held longest because it reads as a shape rather than a colour trend. The dated version is a flat mid-brown worn glossy across the whole nail; the current version is a deep tip over a sheer base.
What colour flowers suit a brown french tip?
White is the strongest choice because it is the highest contrast against dark brown and keeps the flower legible from arm’s length. Cream and butter yellow work as softer alternatives. Avoid pink or any mid-tone — it sinks into the brown and the shape stops reading.
Do brown french tips work on short nails?
Yes, better than black does. Keep the tip proportionally shallower — around 2 to 3 mm on a short nail rather than 4 — and skip the flower, or move it to a single accent nail. A five-petal flower needs roughly 8 mm of nail width to sit properly.
How deep should a brown french tip be?
About 4 mm at the deepest point of the curve on a medium almond nail, which is a little under a third of the nail length. Dark colours need more depth than white to register as a deliberate shape; a 2 mm dark tip tends to look like a chip rather than a french.
Why does white nail polish look grey over brown?
Because most whites are semi-opaque and the dark colour underneath shows through. The fix is two thin coats of a dense white with a cure between them, not one thick coat, which cures unevenly and stays patchy at the edges of each petal.
What nail shape suits brown french tips best?
Almond and oval, because the curve of the tip follows the curve of the nail and the smile line stays soft. Square and coffin shapes make a dark tip read as a hard band across the finger, which is a stronger and less flattering look on most hands.
Where to Start
Do the tips first and stop there. A deep chocolate french on a sheer blush base is a finished manicure on its own, and it is worth wearing once before adding anything to it — partly because you may not want to, and partly because getting the smile line right is the skill that everything else depends on.
When you do add the flowers, put them on two nails and no more, and pick the ring finger on each hand. It is the finger people photograph, and it sits low enough between the others that the art takes less wear.